We're edging into knitwear territory, we're eating a lot more than usual and X Factor's back on our screens which means one thing... autumn is here and that healthy summer glow you've had from your vacay is nowhere to be seen.
We'd do and try anything to make sure the new season ahead doesn't leave our skin feeling and looking all kinds of meh, which is why you'll mostly find us strobing our way through the elements.
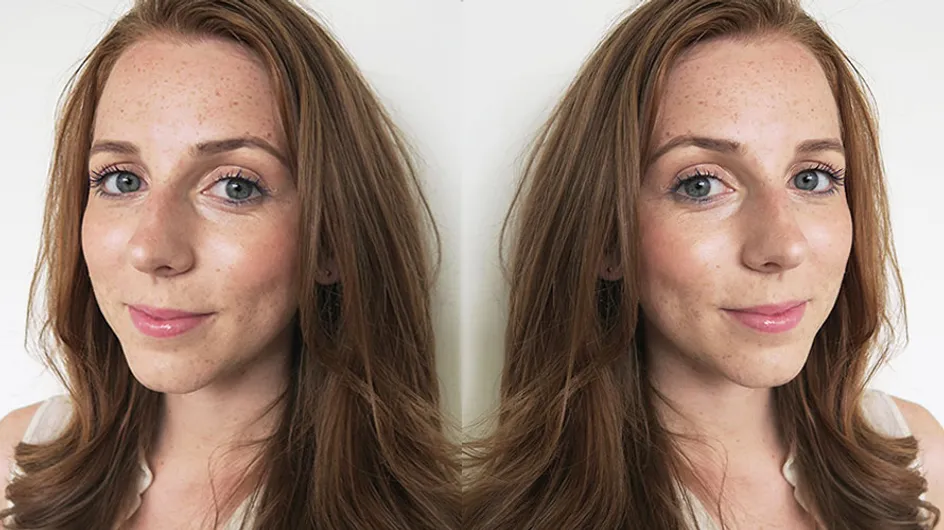
The new-to-us makeup technique (MUA pros have been using it for years!) involves layering highlighter both underneath and on top of your normal base foundation to create a radiant, ethereal glow.
We sat down with the lovely Lisa Potter-Dixon, Head Makeup & Trend Artist for Benefit Cosmetics, to get the down low on how to create this fresh-faced look. Ready to get strobed? Here's how to highlight your way to happy, healthy looking skin.
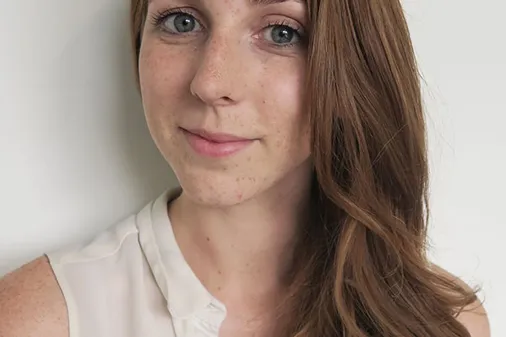
Get The Look!
1. Ditch the mattifying primer and moisturise instead
When you're contouring you tend to mattify your makeup with a primer and powder, that way you can taper in your cheeks and the contouring effect can get to work but with strobing it's the opposite. The aim is to make the skin as dewy and radiant as humanly possibly - without looking like a sweaty mess.
Before applying any makeup always use a rich moisturiser to prep the skin and make it look hydrated and plump. Work the product into the skin for a good 30 seconds to give it some natural stimulation. Top tip - makeup always goes on better when your face has had time to 'wake up' and absorb the moisturiser.
2. Creating your base
Before you build up your base, apply dots of highlighter all over the face either using your brush, finger or beauty blender sponge. At this point it doesn't have to go on particular areas of your face - that comes later.
When you move on to applying your foundation, be careful not to rub away the highlighter with the blender, instead use patting motions and buff in with a clean eyeshadow brush. Follow with your concealer as normal.
3. Second round of highlighter
Now you've finished your base, go back in with your favourite highlighter, focusing on the high points of your face: bridge of nose, under your brow bone and onto your cheekbones.
There's two different types of strobing depending on your skin type. Fairer skin tones should opt for an icey strobe whereas darker skin tones should go for a warm, bronzy strobing effect or you could run the risk of looking a little chalky in certain lights.
4. Add bronzer
If you're anything like us, you would have assumed there's no place for bronzer in a heavy highlighted look like this but apparently there is! Use a bronzing illuminating powder on the eyelids just up to the socket to give them a little definition. Alternatively, add a little dot of highlighter like Benefit's What's Up to the centre of the eye lid to lift the look. No one wants to look like a flat face!
5. The finishing touches
You could easily wear this look on its own and let your flawless complexion speak for itself but we've topped it off with a 90s-tastic brightening blue mascara, Hervana blush and Icebreaker lipgloss to finish.
Top tips
- Make sure you're in natural light to ensure highlighter isn't too OTT and always take a selfie at different angles to ensure your application is seamless.
- Stick with formulas that you know, if you normally use liquid foundation use liquid highlighter, if you use powder foundation use powder highlighter.
- Always use liquid highlighter underneath for your first layer.
- If you have fair skin stick with silvery tones, if you have dark skin opt for golds to add warmth.
- Go for a blusher with highlighting particles/pigments rather than a matte finish.
- Strobe your décolletage for a night out - it's perfect for adding a little extra shimmer to your LBD.
Don't forget to get yourself a copy of Lisa's first and long awaited makeup book Easy On The Eyes available now!
Are you going to swap contouring for strobing anytime soon? Tweets us @sofeminineUK
Check out more pics in our gallery!
You might also like:
The New Summer Beauty Hack You Need To Know About
Watch This Super Talented Makeup Artist Transform Herself Into A Crazy Realistic Dog
