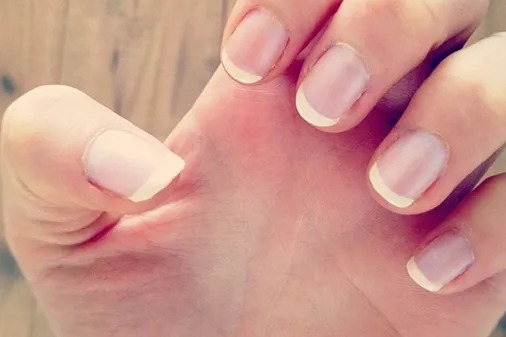
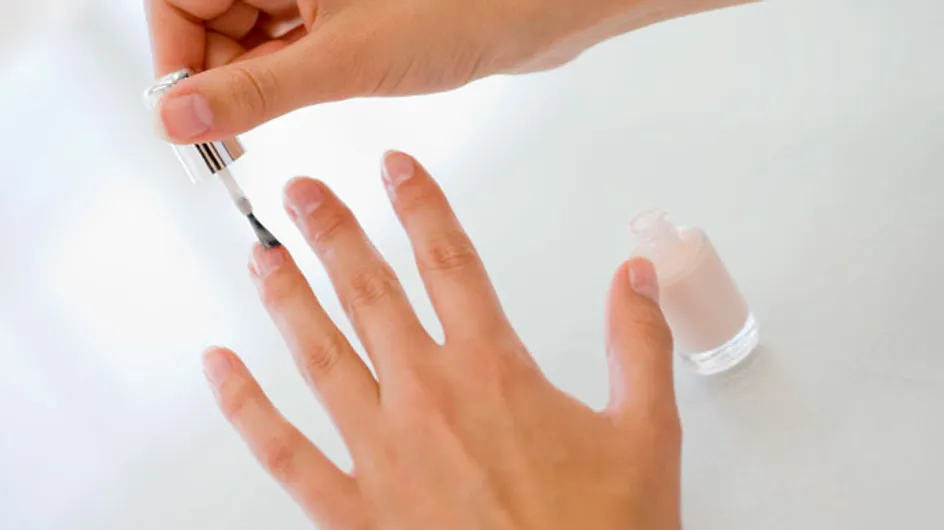
The French manicure is undoubtably one of the more natural ways to wear your nails, that pale pink base and bright white tip enhances your normal nails, giving them a groomed appearance without the fuss. It's one of our go-to looks - the Frenchie goes with every outfit.
But if you thought the French manicure was just for white weddings and job interviews, think again. Recently it's had a modern makeover. From reverse French manis to glittery tips, feature nails and inverted colours, polka dots and contrasting hues, the French manicure is the mani to master. Once you perfect the technique, the options are endless.
We spoke to Pamela Kalmus, a manicure obsessive, nail expert and founder of Mani Diaries, a free iPhone app that allows users to track, manage, and share their manis and pedis, to get her advice on how to do a DIY French manicure.
While it can be daunting to attempt a French mani at home, if you have patience and time to get the job done, there's no reason why you can't have a head-turning mani with a professional look.
What you need:
The first thing you'll want to do is get yourself a French manicure kit. Many companies - like Red Carpet, Nails Inc and Sally Hansen - make these for pocket-friendly prices!
Don't have a kit? No problem. Grab the following:
Nail file
Matte white polish
Sheer pink polish
Base coat*
Top coat*
Scotch tape
Cotton buds
Nail polish remover (for mistakes)
*A two-in-one base and top coat works just fine, too.
Step-by-step instructions:
1. File nails evenly. A square shape is easiest to work with when it comes to painting tips. The square shape is the traditional look for a French mani too, keep the corners rounded for a softer finish.
2. Apply a thin layer of base coat and wait for it to completely dry.
3. Prep your nails for the white tips. "One trick I use is putting scotch tape on the nail as a guide for the tip," Pamela says. "Take your time with this - make sure the tape is lined up evenly and consistently on each nail."
4. Apply two coats of the white matte polish. Let it dry completely before removing the tape slowly and carefully.
5. Apply two coats of sheer pink to the entire nail and wait for it to dry.
6. Apply top coat.
7. Sit still and let your nails set. You don't want any smudges!
8. Clean up any mistakes with a cotton bud dipped into some nail polish remover.
Additional tips:
Being dedicated to the art of nails means Pamela has plenty of need-to-know advice.
She says: "'Wrap' your tips. Running the polish along the top edge of your nail really helps to extend the life of your manicure, no matter the colour! Pamela advises that this is an especially important step for the French manicure, though. French manicures chip more easily - and the chips are more noticeable so make sure to get the top of the nail."
Pamela also suggests using a quick dry top coat. Great for us wigglers!
Most importantly set aside a chunk of time for your DIY French mani. We suggest doing it at a time when you know you'll be home for a while. If you do this an hour before you leave the house, you may not be giving yourself ample time to apply and dry.
Now you've got the technique sorted try experimenting with some of these cool nail art looks:
 © Pinterest
For a bit of extra help just check out beauty vlogger Fleur de Force's step-by-step video on perfecting those natural looking nails:
Watch how to do a French manicure:
Are you a French mani fan? Got any application tips of your own? Tweet us @sofeminineuk


